Quotes about god's love in hard times - Love makes the world go round. Who has not heard this great love quote? The power of affection is indeed simple, as the recognition of affection quotes show rightly. Love is difficult. Again and again, women and men have contemplated about its which means. What precisely is it? Is it a fleeting attraction, a life-long bond or a relationship solid by destiny? It's troublesome to outline this sense. That is why you have got love quotes, brief sayings and remarks about probably the most lovely human feeling. Is there anyone who does not like reading love quotes? These brief but pithy sayings tell a lot concerning the feeling. The that means and power of affection are discovered to have different interpretations for different people. And they make a captivating studying materials. It's easy to go on reading love quotes for hours with out becoming bored. As the Greek tragedian Sophocles as soon as described, "One word frees us of
How to make a homemade basketball rim - The artwork of embroidery started 1000's of years in the past. Early examples can be discovered everywhere in the world. There is historic embroidery from Egypt, Northern Europe and China. The place and the way it really started will stay a thriller. What we do know is that in Europe, embroidery was a standing symbol. Using a needle and thread to be able to sew patterns on material was an indication of wealth and prosperity. It was considered a woman's work. Many royal and noble ladies spent hours embroidering. They embroidered all the things, from tapestries to coats. These rich and highly effective women have been typically depicted in portraits with their embroidery frame or different tools used for the craft. Many different cultures share Europe's use of embroidery as marking wealth and status. Persia, India, Japan and China also have richly embroidered materials. These have been celebrated cloth and the ones who made them had been artisans of excessive caliber.
There are two primary ways to save a stabilizer. The first is thru pre-planning, hooping your stabilizer a little otherwise than common, and the second is utilizing leftover scraps of stabilizer after it has been used for embroidery. How you chop and hoop your stabilizer can prolong the variety of embroideries you possibly can sew out, saving you cash. When reducing your authentic piece of both reduce away or tear away to position in your hoop, lower it the dimensions you need in one dimension, both size or width, but for much longer in the different dimension. As an illustration, if you're chopping an 8-inch extensive piece for a 4x4 hoop, you may lower the stabilizer 8" x 24". Embroider the first design at one end. After neatly slicing or tearing the stabilizer away from the finished design, re-hoop at the identical end to your subsequent design, beginning just past the torn section. It's possible you'll need to press the stabilizer utilizing a dry iron on low temperature in between hoopings if it is wrinkled. Now you may reuse more of the stabilizer, possibly having the ability to stitch out 4 (4) embroideries, relying on their dimension, from the one piece, as a substitute of the three (3) embroideries you'll get by cutting three pieces 8"x8". Take this concept to the extreme, and don't lower your length off in any respect. Hoop your stabilizer, leaving the roll connected toward the highest of the hoop. Place the roll behind the machine, out of the way in which of the ring, embroidery arm, or any threads. After the embroidery is full, tear the stabilizer away, press the wrinkles out, and hoop again at the vanguard.
How To Make A Basketball Net DIY - YouTube. Bend the strip of cardboard that you scored into a square hoop and fold in the shorter 1 in 25 cm tabs.

How To Make A Homemade Cardboard Basketball Hoop Easy Basketball Hoop Diy Basketball Hoop Basketball Hoop Diy Basketball
Cut another backboard size and then use a double-sided tape to secure it at the back of the backboard.

How to make a homemade basketball rim. Grab a can of white paint a small brush and measure out a 12-by-12-inch square perfectly in the center with the bottom of the square at the top of the hoop. Towels toys food drinks sunscreen and more. Use a tape to secure the wire hook at the back of the basketball hook.
To make the ring youll need something to wrap it around this should be about 400mm 16inches as the ring will expand. Of weight and drill four holes into the wall or whatever area youve chosen to mount the basketball backboard. It cannot be a partially metal hanger made.
Now to form the stand theres the end of triangle in the back and you take those ends that are out to the side and you bring them to the center then crease the side of the paper. A day at the beach requires a lot of supplies. Use the strings or yarn to make a net.
Cut the bottom out of the crate if you are using one and make sure to. On either side of the arch that meets the baseline take your tape measure and measure a straight line out 5 3 and draw a small line that intersects the arc at this point. A standard basketball ring diameter is 450mm 18inches.
Learn how to turn a plastic laundry basket into a rolling cart. Creating the Stand Part 1. EnjoyPlease subscribe and turn on.
Step 1 Obtain the necessary materials. Ideally you could find an old or knocked down goal and get the rim but other things including milk or shipping crates bicycle tires and any large metal ring that a basketball can fit through will work. Attach the short tabs to the backboard about 1 in 25 cm from the bottom of the.
Dear Viewers Welcome to my channel Rashmis ABCD. Once you have your former clamp it to the bench. Walk towards the center of the court and draw and arc that reaches from baseline to baseline.
I make videos about art beauty cooking and decorating. I found an old rim the right size but you may need to cut a disc out of wood. Use the same size of cardboard and glue it at the back of the backboard.
Grab four large screws enough to support 30 lbs. Though you dont need much to create a the basket it will come together very quickly if you find all the parts before you start1 X Research source You will need.

How To Convert Portable Basketball Hoops To Inground Portable Basketball Hoop Outdoor Basketball Court Indoor Basketball Hoop

Diy Cardboard Basketball Game Diy Cardboard Diy Projects
How To Replace Basketball Backboard 16 Step Diy Guide Basketball Backboard Diy Basketball Hoop Basketball Hoop Diy

Basketball Backboards Dimensions Drawings Dimensions Guide Basketball Backboards Basketball Backboard Basketball

Indoor Basketball Hoop Diy Boys Room Diy Basketball Hoop In Bedroom Diy Basketball Hoop

Diy Tabletop Basketball Game Fun Basketball Party Ideas Diy Basketball Basketball Games Basketball Games For Kids

How To Make An Inside Basketball Hoop For Your Room Basketball Hoop Basketball Indoor

Kids Love The Hoosiers Style Basketball Goal Made With Salvaged Utility Pole And Cantilevered Wood Pall Diy Basketball Hoop Basketball Court Backyard Diy Space

101 Uses Of Polycarbonate 7 Basketball Backboard
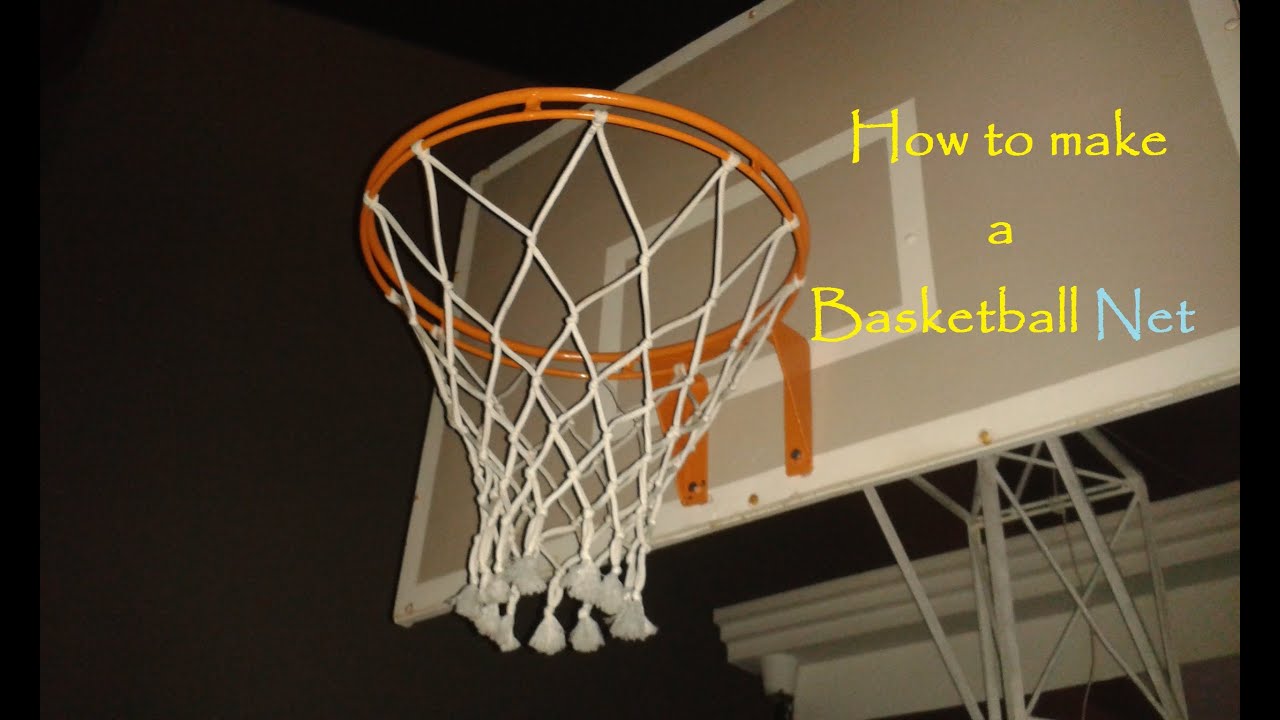
How To Make A Basketball Net 12 Strings Basketball Net Diy Basketball Hoop Diy Basketball

Homemade Basketball Hoop Diy Basketball Hoop Basketball Court Backyard Diy Basketball

Traditional Basketball Hoop Wood Basketball Hoop With Painted Hoop Lines Wall Mounted Wood Basketball Backboard And Rim Basketball Gift Basketball Backboard Diy Basketball Hoop Basketball Hoop

How To Make An Inside Basketball Hoop For Your Room Basketball Hoop Diy Basketball Hoop Basketball Games For Kids

How To Build A Basketball Hoop For Cheap Part 5 Youtube Basketball Hoop Diy Basketball Hoop Diy Basketball Hoop
I would like to give you some ideas for hooping satin jackets for machine embroidery. We don't want topping for satin jackets as a result of it is a stable cloth, not like sport shirts and t-shirts which are knits and stretchy. Hooping satin jackets is likely one of the trickiest little jobs for the brand new embroiderer to master. The design placement on the jacket again have to be good - not too low or excessive - and it have to be straight. For placement, one rule of thumb is to put the bottom of the lettering (if using an arc, measure for the letter on the top of the arc) seven inches down from the collar seam. One other is to position the design's center at roughly 9 or 10 inches down from the collar seam. (This is just a guideline. If you have to, get a sewout of the design or photocopy the precise measurement and lay it on the jacket to determine the best placement.) To get the design straight, lay the jacket flat and easy, and utilizing clothespins, attach a yardstick beneath every sleeve the place the seams come together. Draw a line with tailor's chalk or soap for the horizontal placement. Make a midway mark on this line to point out the center. You'll want to double-check these measurements along with your eye - jacket making just isn't an exact science and sometimes you need to alter one way or another to make up for discrepancies in measurements.
Janome designed the Memory Craft 9700 to convey together all the very best features into one sewing machine. The MC9700 has the power and precision of a superior stitch mechanism combined with the sophistication of computerized management. You get the precision stitching Janome is known for along with straightforward navigation and design structure on a color touch display. The Reminiscence craft 9700 can convert from a stitching machine into an embroidery machine in seconds. Not like other brands that require separate attachments and numerous steps the 9700 has a built-in, two-step conversion. Just touch the embroidery mode key then attach the embroidery foot and one minute it's a stitching and quilting machine the next an embroidery machine.
Deanne Blackhurst is a contract writer for Dee's Red Works, an online web site that makes a speciality of Redwork and Cross Sew patterns. Using the normal redwork model as inspiration, these new patterns are fairly priced and have a enjoyable vintage feel however with a recent perspective. At Dee's Pink Works you will discover basic units that characteristic the Days of the Week and charming Sun Bonnet Girls in addition to the more current Cheese and Wine assortment and Celtic Knots. In addition they carry thread and notions especially designed for redwork and cross stitch. Visit them at Dee's Purple Work Inc [http://www.dsredwork.com] and find a pattern you can't resist.
Comments
Post a Comment